Getting Started in Multi Rotors
ZMR 250 (Kit) Build & Flight
Basic Kit includes Frame, Motors, ESCs, CC3D board and props
the CC3D Control Board can be got all by its self
I upgraded to 3 blade 5030 props from YKS

Overview shot of the flight ready 250
In Flight Testing
Initial Diagnostics & Setup. got a FRSKY Futaba Module TX & 8CH RX w/ Telemetry options. Currently this is plugged into my Futaba 9CAPS and seems to work quite well, TX voltage is quite stable compared to the +/-.2 V’s seen on the Spektrum DSM2 setup. To date the DSM2 module unit has been quite reliable as well.
Simple Tilt Back Camera Mount on the 600 TVL Run Cam
Another view of the FPV camera
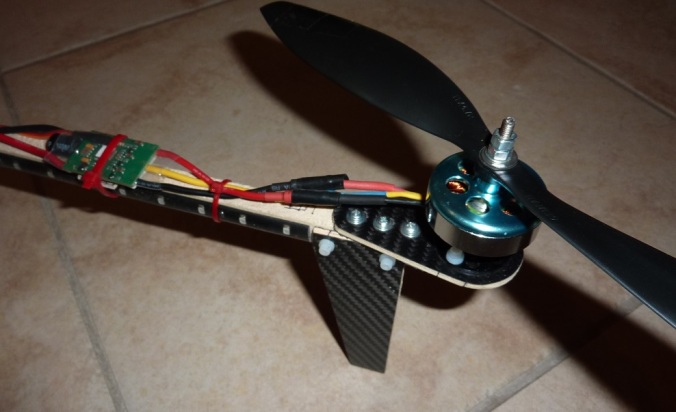
As Bought the base ZMR frame has no extra room in the main body for the ESC’s, the Motor arms are the only place to put them with out after market Frame mods, I had to direct solder the motors to the PCB’s of the ESC’s, this required more precise technique and heat control vs. standard bullet connector / Dean’s Solder Joints.
all 3 motor wires are trimmed to the same length, E-Max 12A ESC’s 3 power pads on the PCB are in the long wise direction, the drawn wire setup ensures proper motor rotation direction after some initial test wire motor test. with all 3 wires the same length, on a bad crash if the motor is salvageable it will allow connection to a new ESC with out worrying about running out of wire length for a 2 wire swap.
Article I Published on Flite Test for a simple Quad or Tricopter Power Distribution harness.
http://flitetest.com/articles/h-quad-power-board-harness-build
SG Edit Scratch build Tricopter
Tail Rotor Pivot setup, the black part the motor mounts to is Machined Delrin, riding on a 1/4″ OD Aluminum tube that’s bonded into the boom. a Turnigy TGY-225MG Servo with dual links powers the pivot. All 3 Motors are DT-750’s
No Multi Rotor custom build is complete without an inspection by the house cat, Ms. Ellie looks over the Tail ESC
All Sheet Parts are made by press laminating 284 Carbon / System 3 Lamination Epoxy to Lite Ply to make a ridged sheet. booms are conventional 1/2″ square stock from Home Depot.
the fixed motors are mounted via nylon Allen screws & metal / nylon lock nuts from McMaster, using AFRO ESC’s pre Flashed with the Simon K firmware.
Using my old Futaba 8UAPS with a retro fit Specktrum DSM2 Futaba Module & Tx, the foot print is larger than the RC Explorer design, this one has a Arm Radius ~ 20″
Soft mount, showing the 2.4ghz satellite antenna mounted in the background.
Tilt wedges can be added to help with white balance and downward view for a fixed setting in flight.
The Camera Soft Mount is additional to the original V2.5 style RC Explorer Battery tray music wire vibe isolation tray.
Sepia view of the finished Custom H Quad. This one flies on my other Futaba 8UAPS that’s still on 72 Mhz
Showing the inner workings of the machine to Mom, Dad & Marie.
Bottom Connection rail, allows batteries & cameras to be Velcro strapped to the bottom. low voltage alarm and long 72 mhz RX antenna are also routed to the rail.
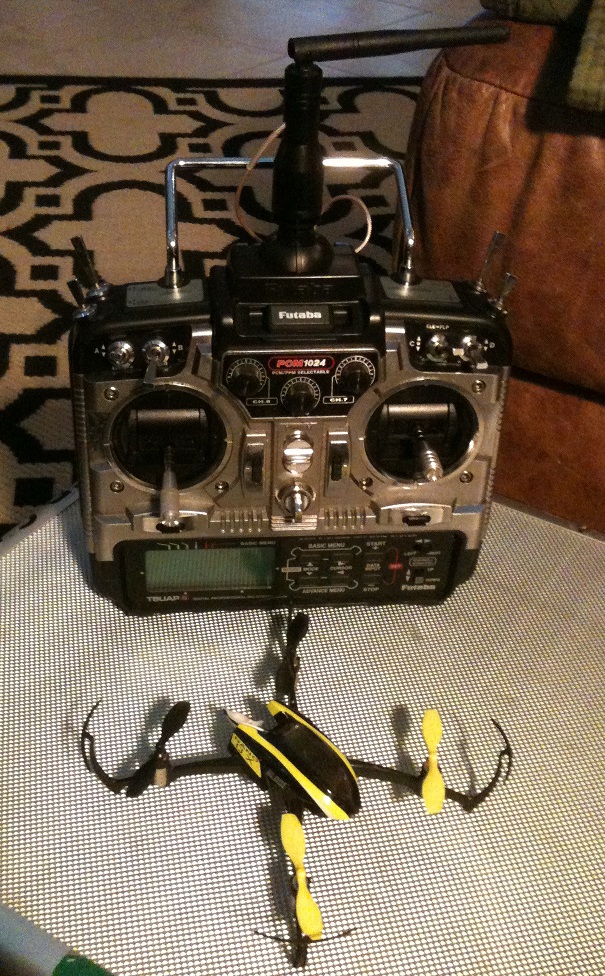
Close up of the Nano QX that can be flown with the TX that came with it or the modified Futaba 8UAPS with DSM2 Module
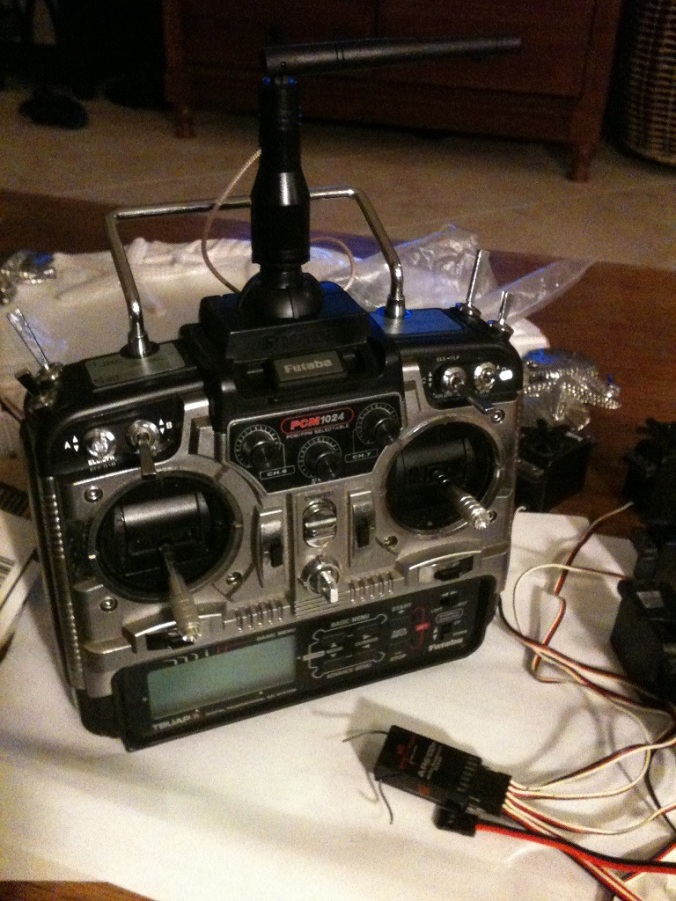
Another Closeup of the Futaba 8UAPS, DSM2 TX Antenna and RX. The module design has allowed the radio to be up to date with some of the latest RC transmitting tech.


