
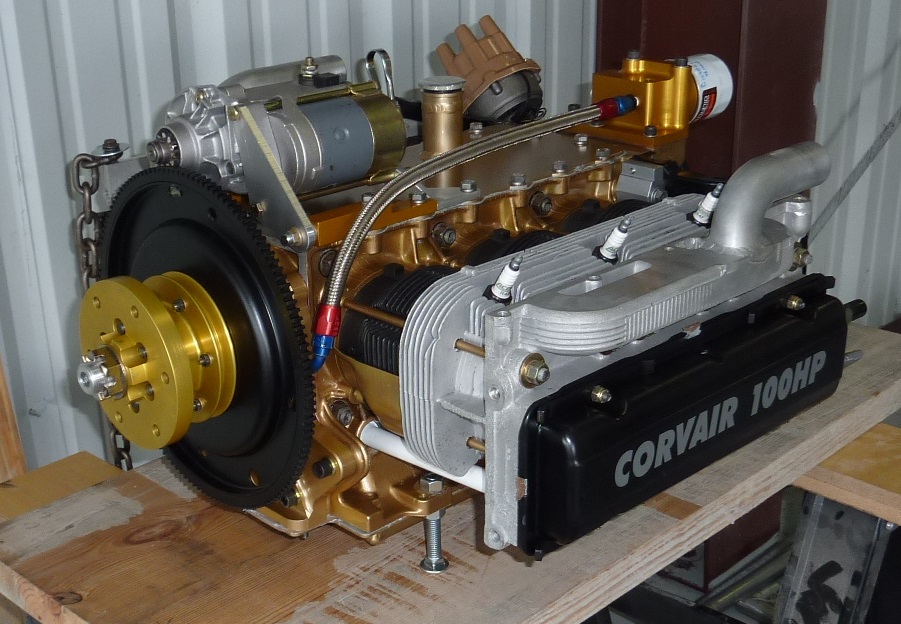
The Finished Product & CC 23 & 25
CC23 Article at: http://www.flycorvair.com/cc23.html
Note for Official Corvair Auto to Aero conversion methods & guidance please go to:
http://www.flycorvair.com & http://www.flycorvair.net
I’m a fellow Embry-Riddle Alumni, General Aviation Pilot with experience in many kinds of aircraft, Worked for Piper & currently at P&W not to mention being involved in the EAA since 93′. With this in mind I can vouch for William & his methods, he is a ERAU alumni, A&P with ton’s of industry experience and pays close attention to proven Aviation technology (what did Lycoming & Continental do) you know those engines that most piston / prop hobbs time is logged with in the US.
There are many “armchair” quarterbacks when it comes to Auto to Aero conversions. The key thing is when you see a Corvair powered plane fly in year after year at Sun-N-Fun & Oshkosh most likely those are FlyCorvair conversions. Not a trailer-ed in Static display. i.e. flight is reality! this is what drew me to this engine in the first place.
Life is to short to work on things not intended to see some serious Hobbs hours.
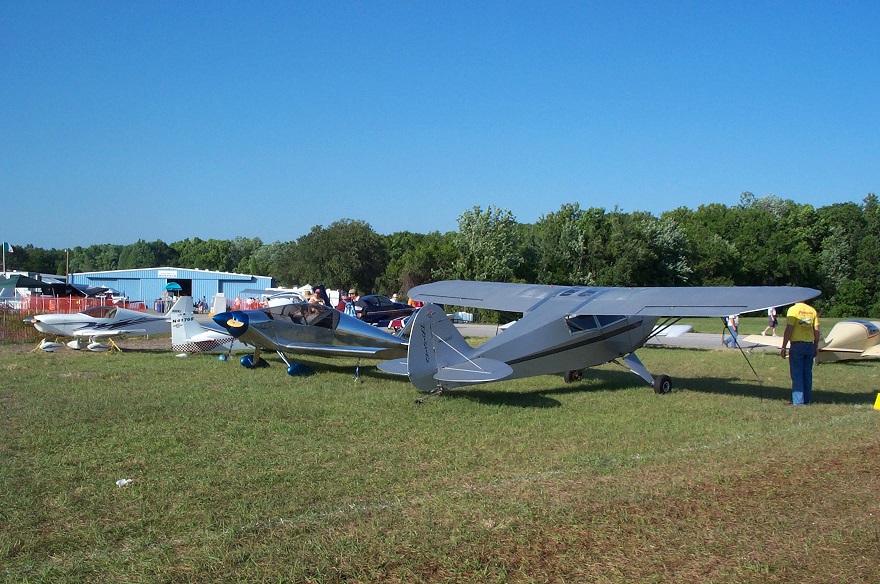
Sun-N-Fun with Dan’s Cleanx, Dave the Bear’s Wagabond, Joe, Bill & Marks, KR’s all flown in.
Dan’s Panther in action with Corvair power
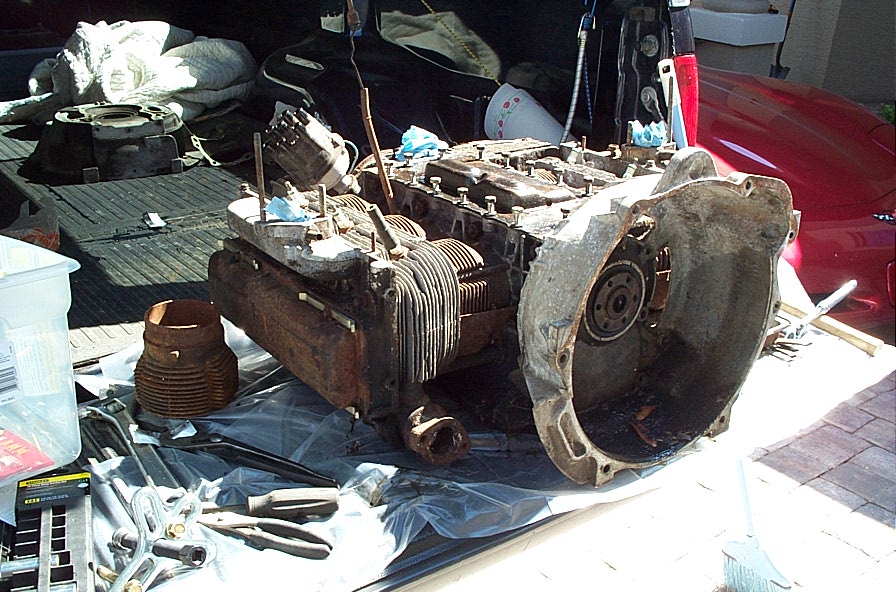
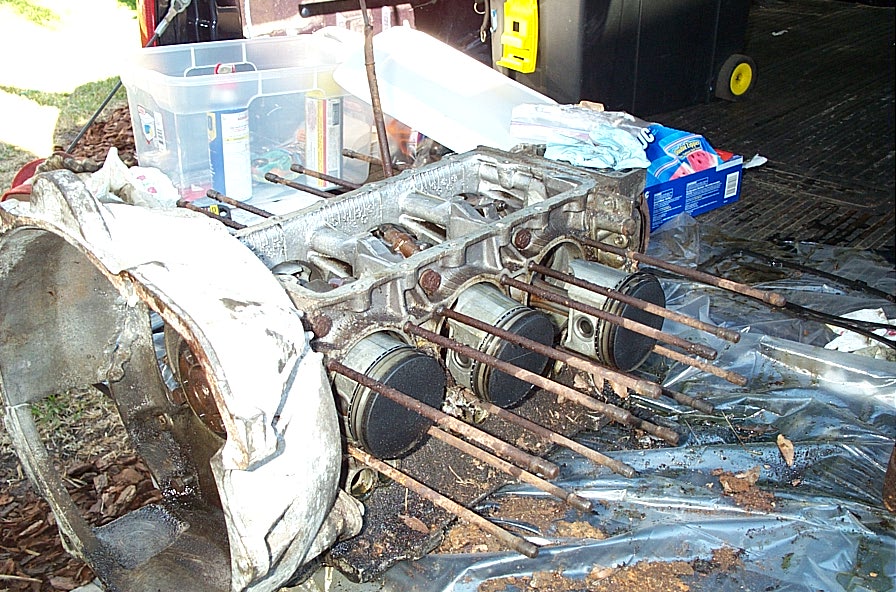
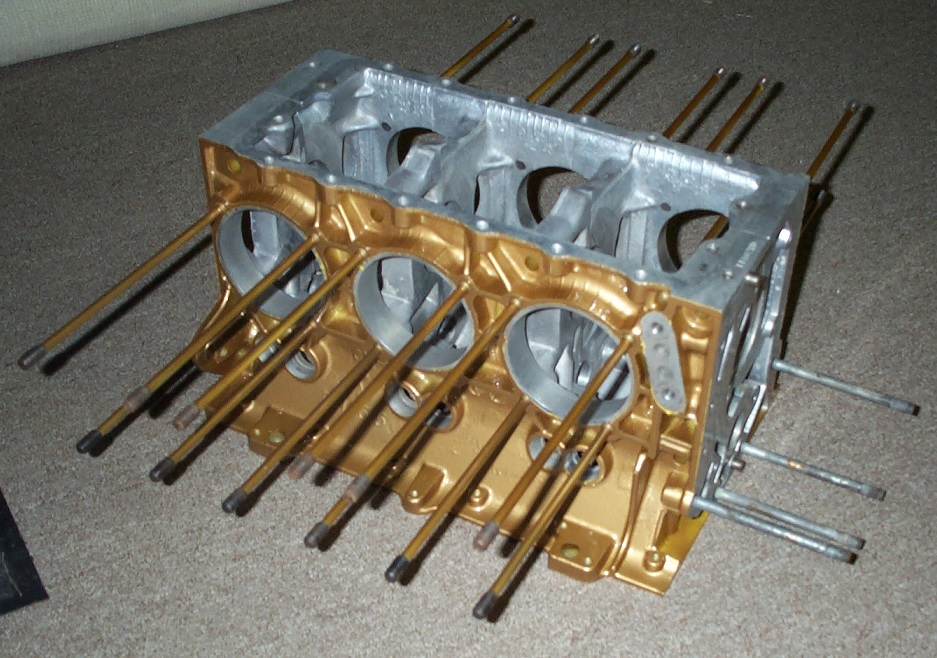
In sharp contrast to the finished product here is how my engine started out.

When doing this kind of work you will get to know PB Blaster very well.
Best way to get each connection off on something in this condition is to spay all around it with PB,try to get it under the bolt heads and nut. let it wait to soak in
I’m sorry I could not resist the next photo:
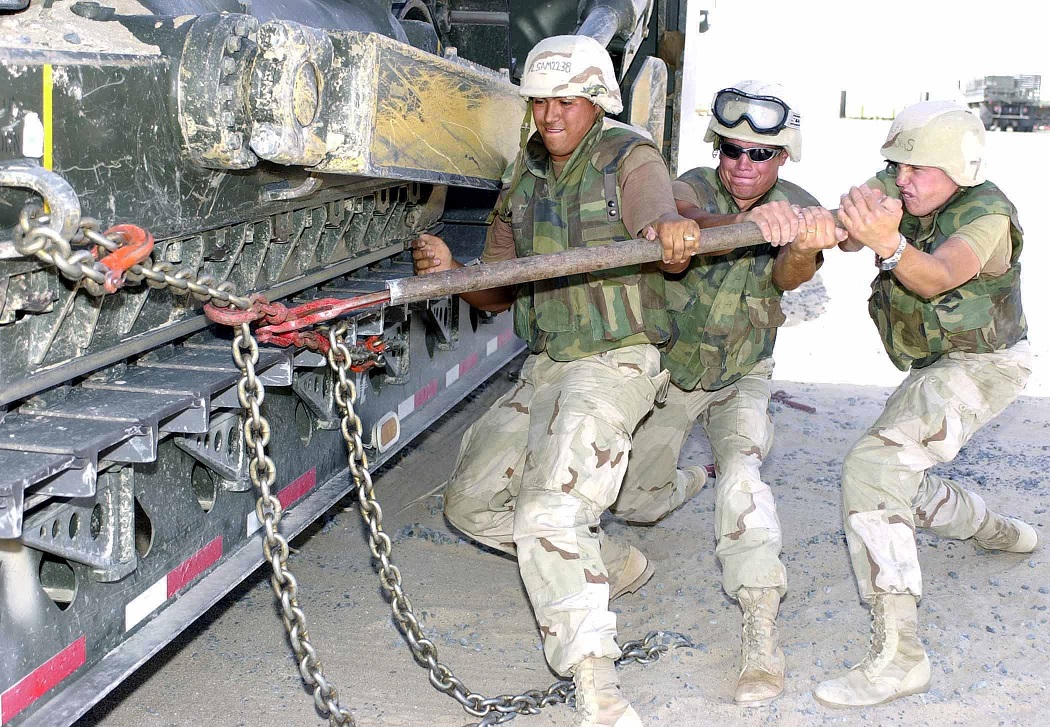
http://en.wikipedia.org/wiki/Cheater_bar
Next thing you will know well is the power of the Cheater Bar. Impact wrenches should be avoided in this kind of operation, they can snap bolts, and round off hex drives with something that’s been sitting who knows where for a few decades. I’ve seen power tool new-bees totally FUBAR a core, hand driven methods you can usually feel if it wants to cooperate or if you need more pb or even some propane heat on it.
Further tear down getting the heads off shows the internals to be in not bad shape. key items are the:
Heads, Case, Crank & Rear accessory housing and some hardware, some items like pistons are just Core value for a trade in.
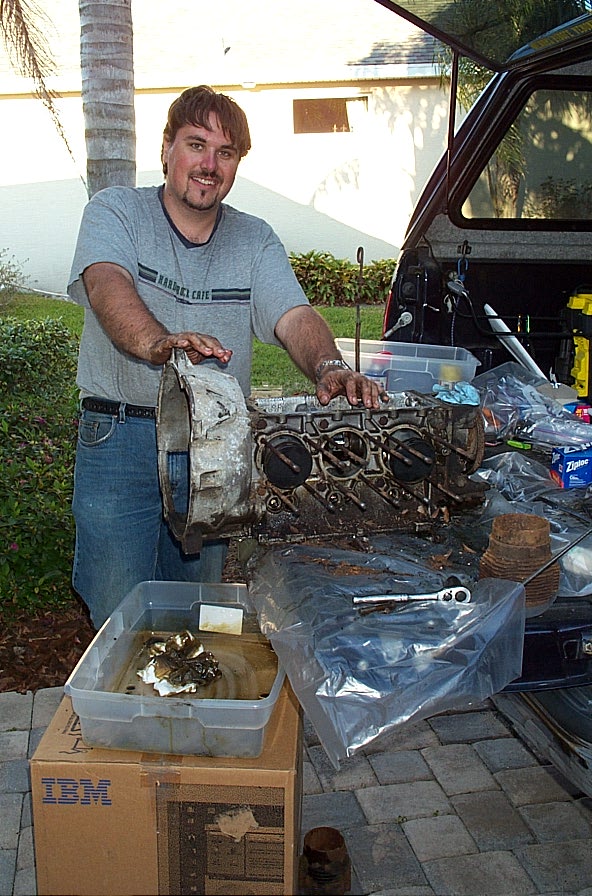
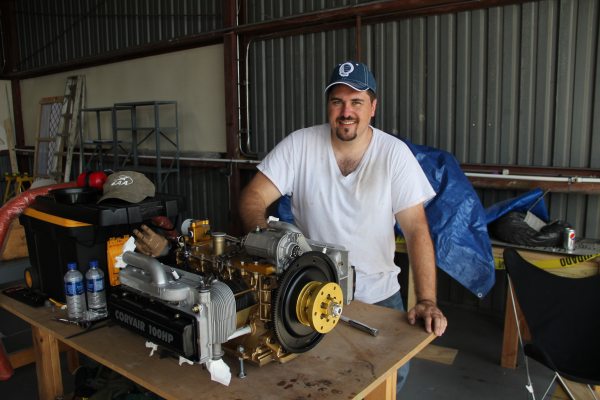
Who Says Engineers don’t know how to get there hands dirty
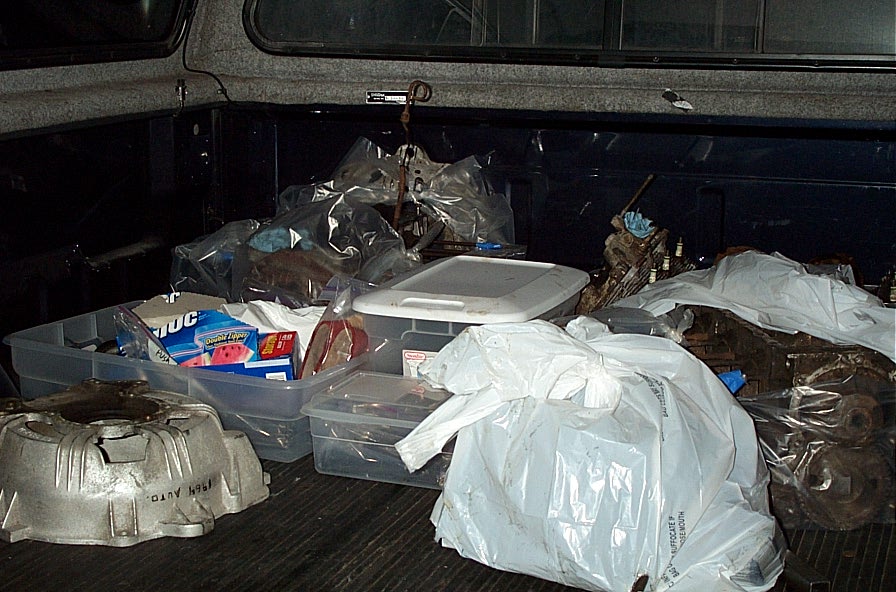
A very neat collection of stuff in the back of my truck to bring back to Vero for more cleaning, sorting, what is what

After my cleaning efforts, The Case was sent off after this to be professionally cleaned in what is described as a giant industrial dish washer.
Heads where sent to Falcon Machine. This was all circa 2006-07 and his web site has been down for quite some time. Now days Dan with SPA can help arrange cylinder head re work. SPA / Corvair web page: https://flywithspa.com/corvair/
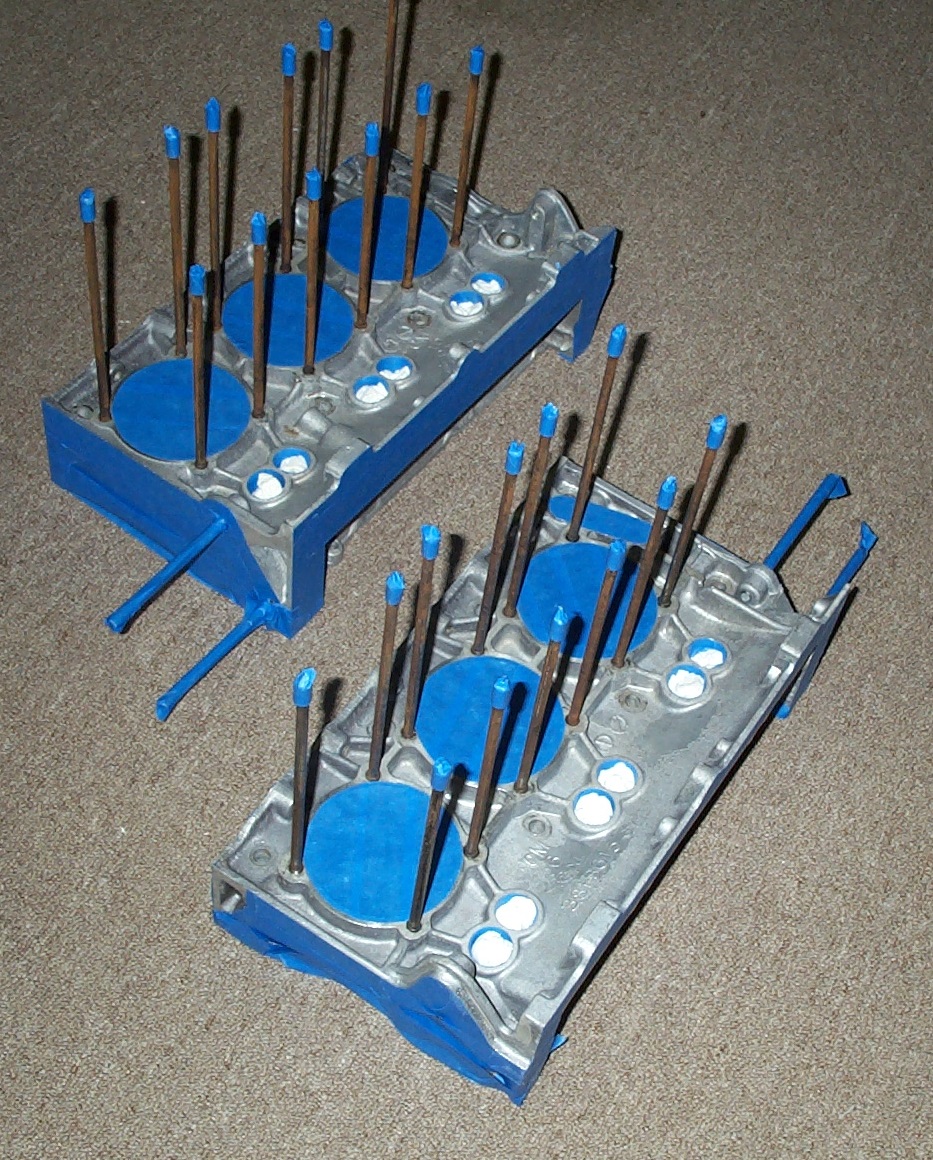
Here’s me going a tad OCD on the tape prep work before painting the engine, its critical though.
most people paint after assembly, key thing is to keep the paint out of the inside, treads, rod end seals, interfaces etc.
After painting & removing masking.

I used Dupli color Engine Enamel (same stuff WW uses)
http://www.continentalmotors.aero/Engine_Details/Stock_Engines/
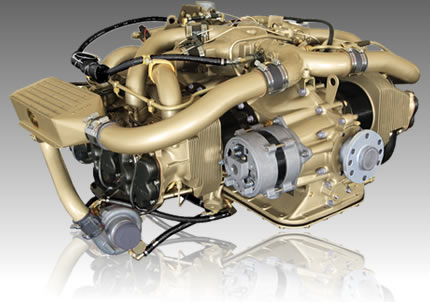
While at Piper I worked a lot with the Continental 550 FADEC motor, the gold color rubbed off on me for the Corvair.
Configuration wise the Corvair looks like a baby version of a 550:
Opposing Air Cooled, direct Drive 6 cylinder, top intake, bottom exhaust, bottom valve train, bed mount for the engine mount, etc….
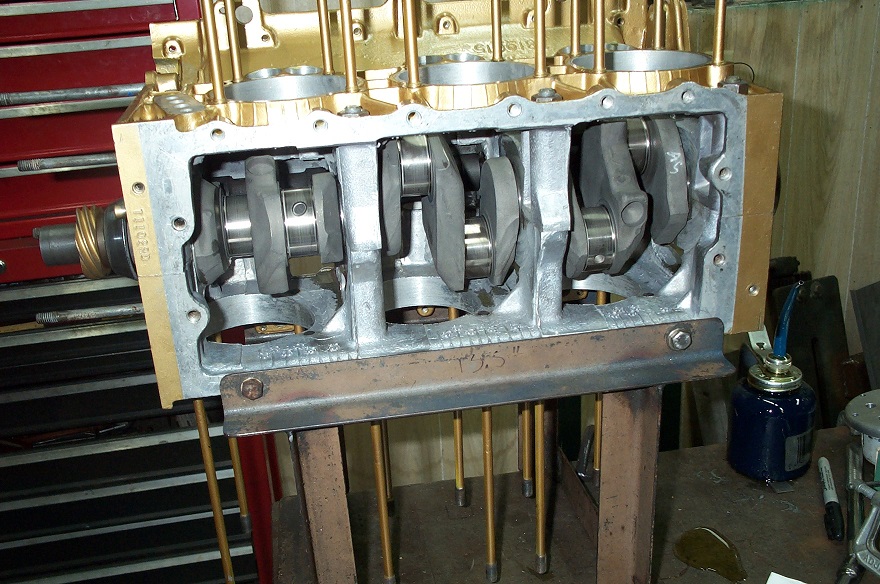
William’s working with me getting the Crank, Cam & Bearings all correct.
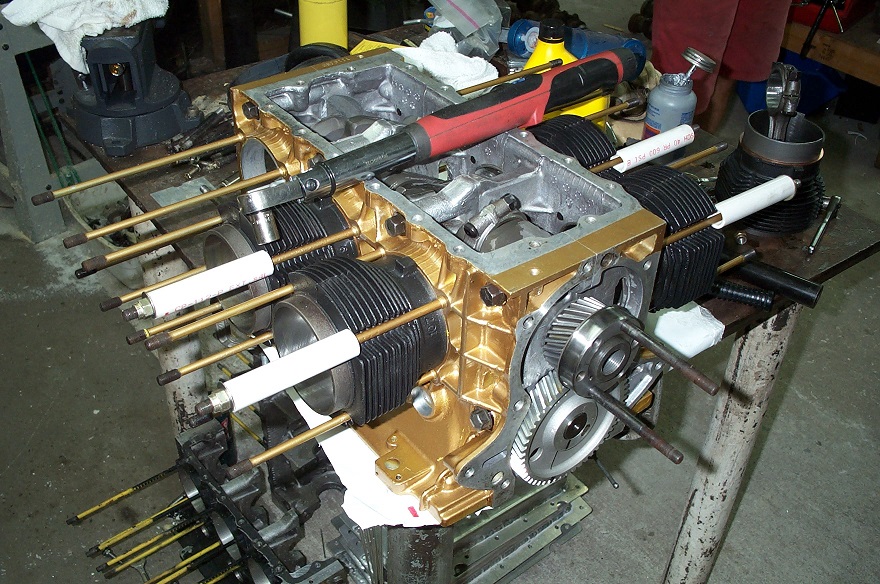
Starting to get more involved with the Connecting rods, Pistons & Cylinders

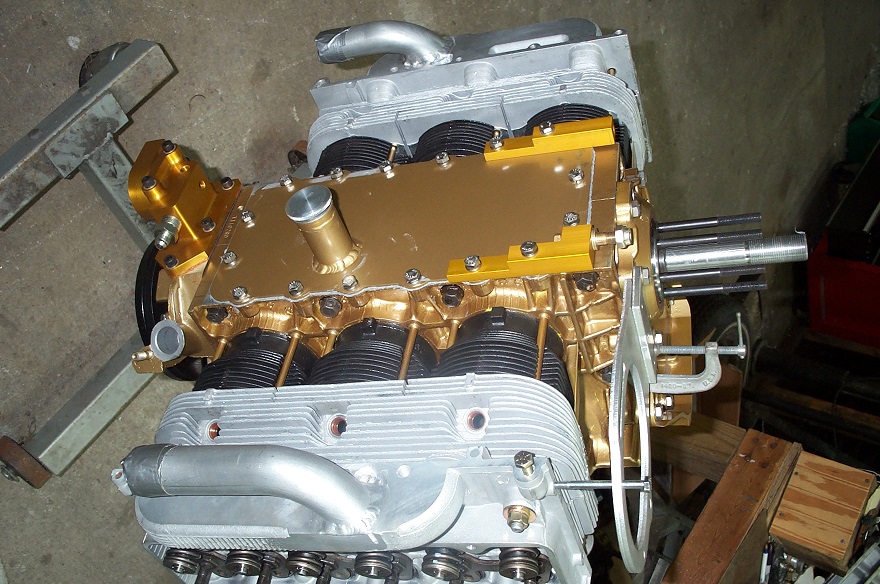
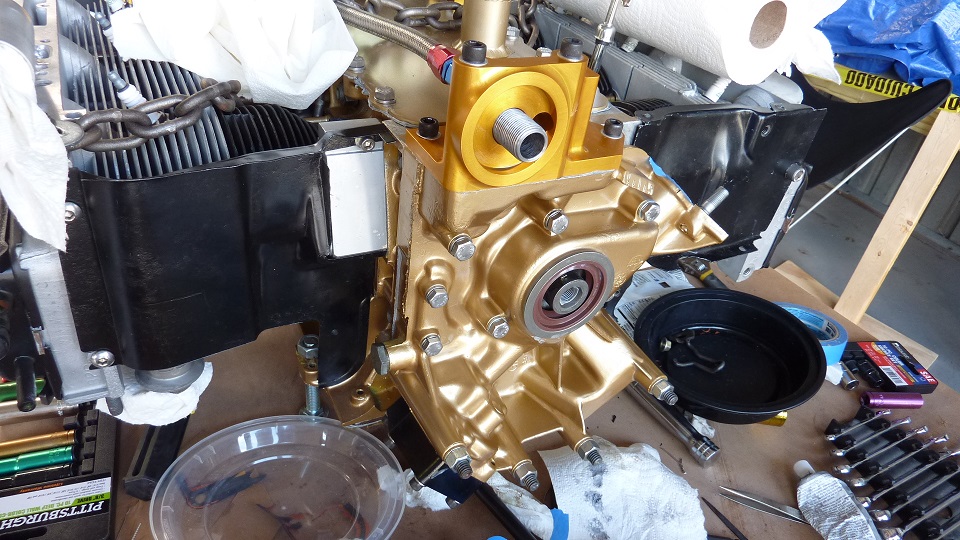
Dry fitting some of the Accessories.
If your used to the Fly Corvair Engines, I was Williams Detail Designer / Cad guy on the Original Gold Prop Hub & Rear Oil Manifold shown in this pic
off to the next field trip to WW’s
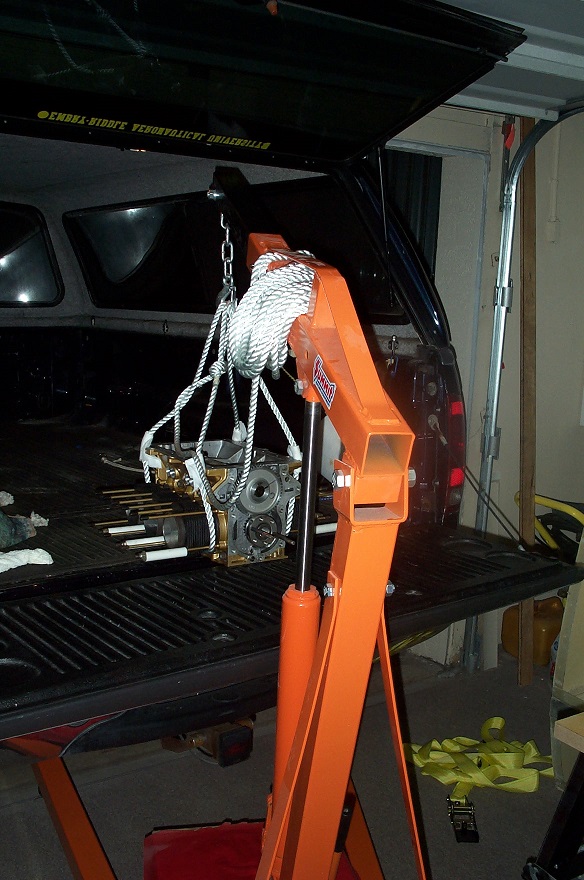
Almost all of the work at home is done all by my self, if there’s a chance I could drop something I’ll try to find a more secure way,
for this job an engine crane.
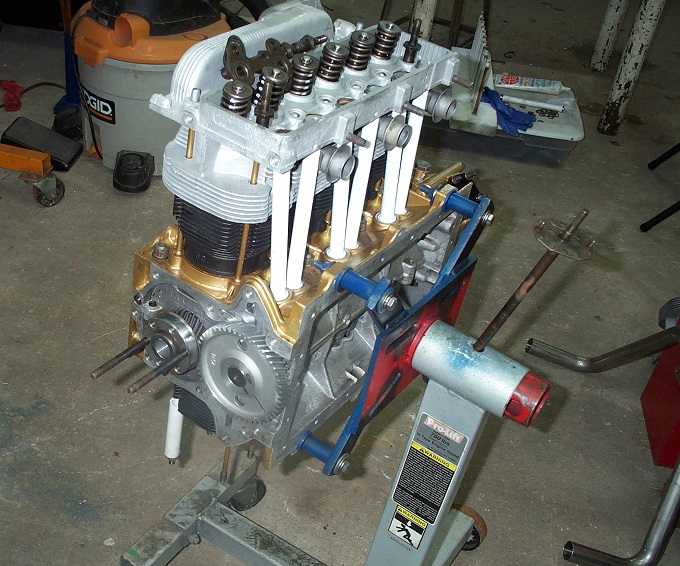
Working on the heads & valve train next, this is a dry fit but for a permanent install notice anything missing?
the lower cylinder air flow baffling,
Also don’t forget to scotch bite on a drill to both ends of the push rod tube cover O ring interfaces, this is a key item for making a leak free engine in this area.
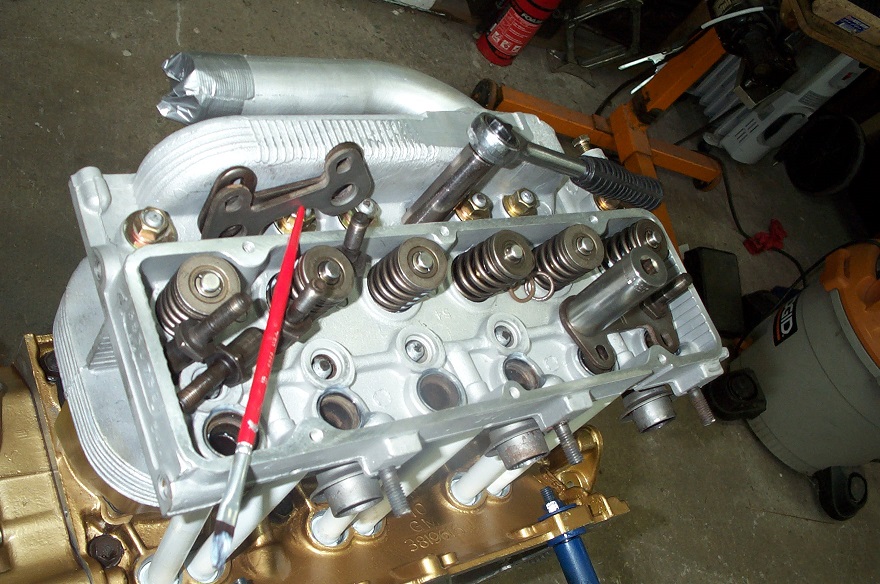
Getting into the actual head install, Anti Seze on a brush for all the threaded connections,
Note the lower cylinder air baffle in place.
wrapping up that trip, William welded on the top oil fill on the engine top plate for me. Idea was to keep the fire wall & cowling right at 30.00″ wide
Looking back at it I should have stayed with his original oil fill on the right rear valve cover case and had a small amount of flair out on the cowling
RV3 / Panther style, I still may go with the stock valve cover / filler and safety the top one shut.
Here are the reasons why:
1) The top cover aluminum on aluminum screw on cap is more finiky than the the steel on steel valve cover style for the threads its also less durable for this application compared to the quarter turn steel.
2) the right rear valve filler position allows you to see Cylinder #1’s valve position for timing, not as much messing around with pulling a plug and feeling the pressure for TDC.
engine progress is put on After Burner at CC23, fueled by non stop coffee and help from some of the best.
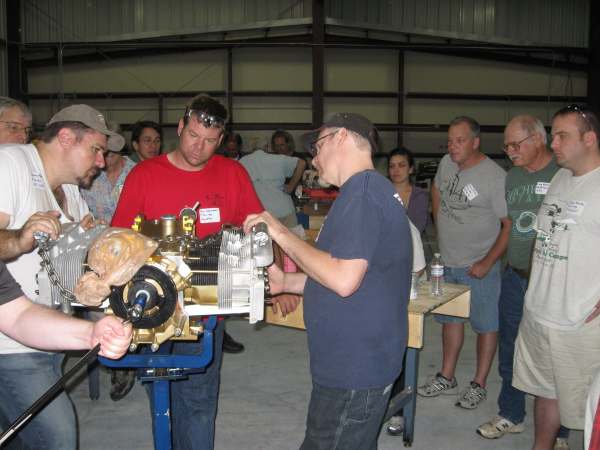
Photo from Flycorviar.com CC23
Before CC23 I ordered a retro-fit 5th bearing from Dan, picked it up at Sun-N-Fun for CC23
https://flywithspa.com/corvair-5th-bearing/
Dan is demonstrating how to near zero out the run out on the retro fit 5th bearing using a dial indicator.

After the new CNC cut 5th bearing was installed.
Master Mark from Falcon Machine getting ready for the valve adjustment.
Taking the covers off.

Best way to set up the valve adjustment, you can see all the lifters and spin the the engine to have the valves at the right
clock position, this photo was right after everything was done and the valve covers are back on, bottom oil pan is soon to be installed.
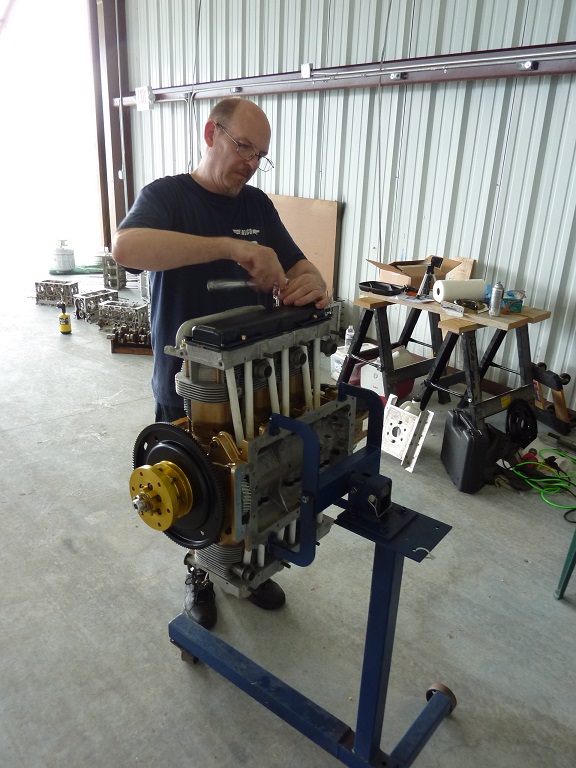
Getting the engine ready the night before, this is the per-oiling step, the corded electric drill has an adapter in it that engages the oil pump and primes the whole engine with oil.
very exciting night, being on the stand its #1 for the morning test runs.
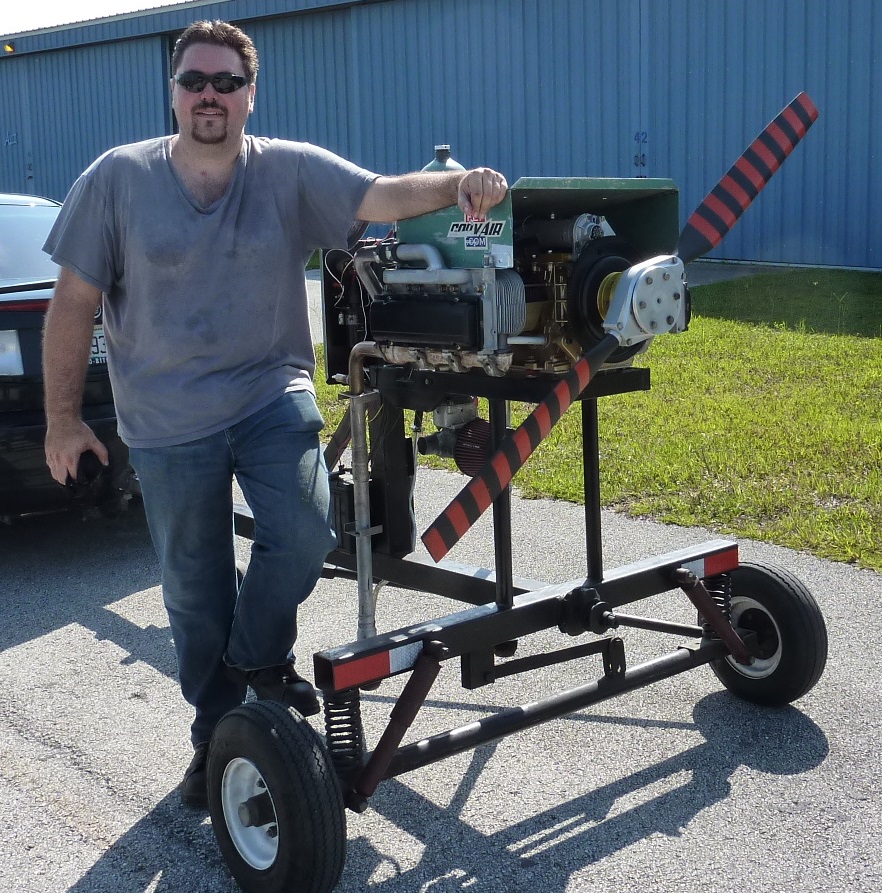
The infamous engine pre-test photo.

WW working his new engine magic.
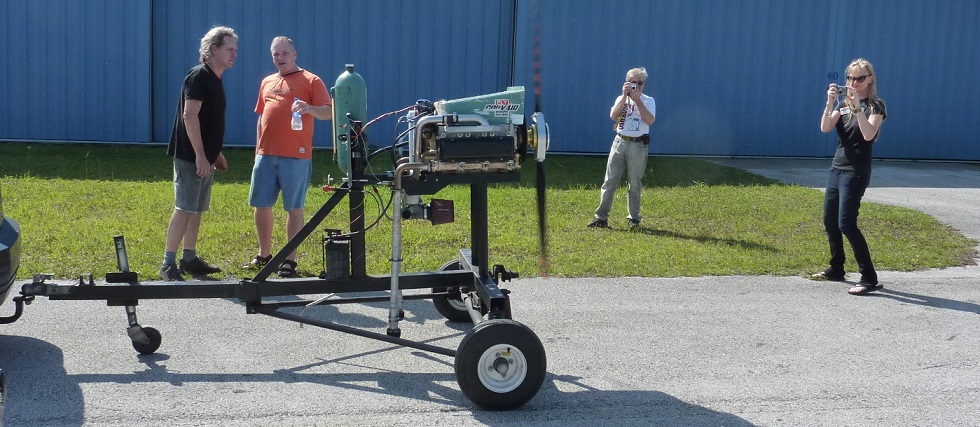
Getting the engine break in going, Grace getting photos.
The up close & personal view at the controls of the test stand
When using a 5th bearing (Dan’s WW’s Ron’s) its feed by an external oil supply line that consumes more oil than the stock configuration equating to a lower oil pressure. The next Florida Corvair College 25 I bought a High Volume Oil pump kit from WW, installed it / ran the engine again at CC25
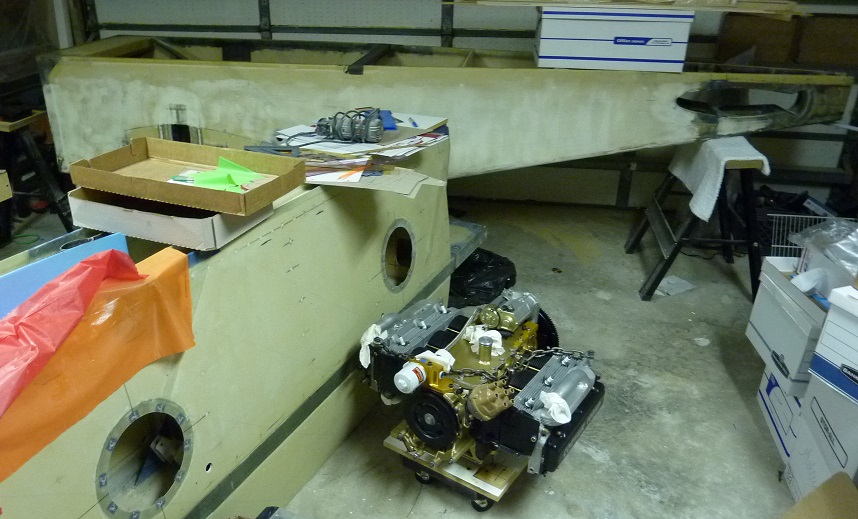
Getting the engine ready to bring to CC25, Any Fly Corvair Engine that has its oil pan permanently installed should have stand offs installed in the motor mounts to keep from extra compression on the oil pan gasket that when released will make a leak. I have a HFT rolly cart with a MDF base attached to it and 4 cleats that engage the stand offs so it can be rolled around the shop. When in storage it had a damp-rid attached to the prop hub and a heavy duty plastic cover that wraps around the whole engine.
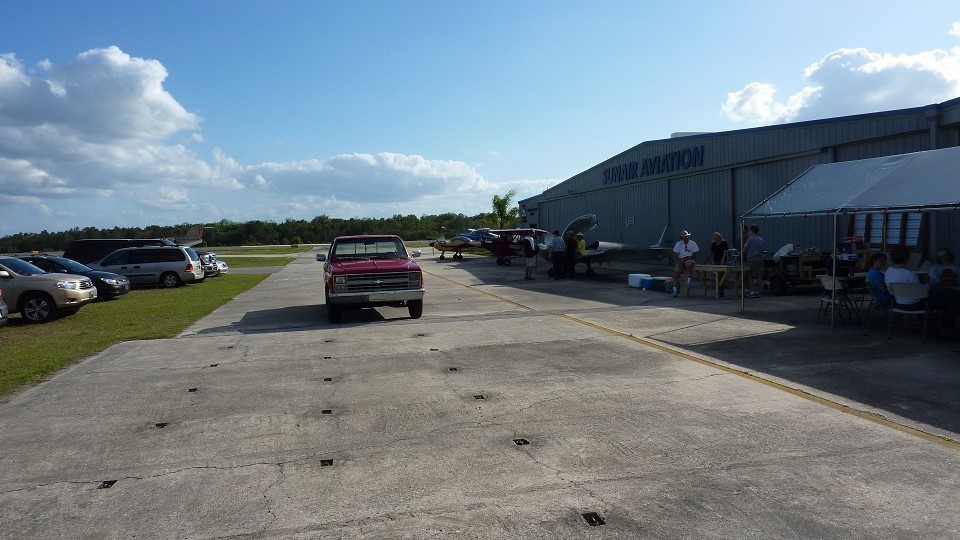
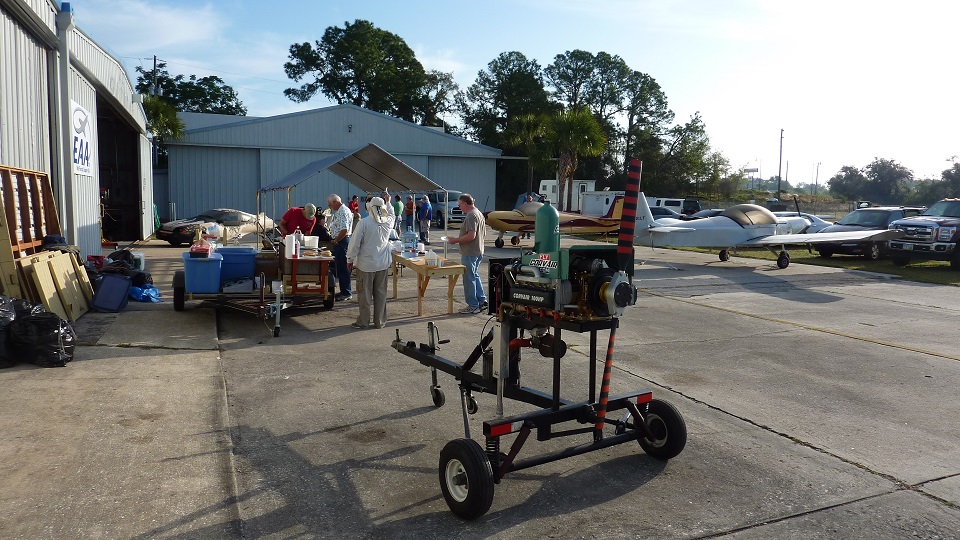
CC25 Had quite the turn out & a great location at Arnold Holmes Local EAA#534 hanger in Leesburg Fl
Had to swap the aft accessory housing for the new High Volume Pump (tall Black thing in the lower left corner) new gasket & a balancer pull.
CC25 only had a half day’s work on the new housing, the rest was spent helping William during the event.
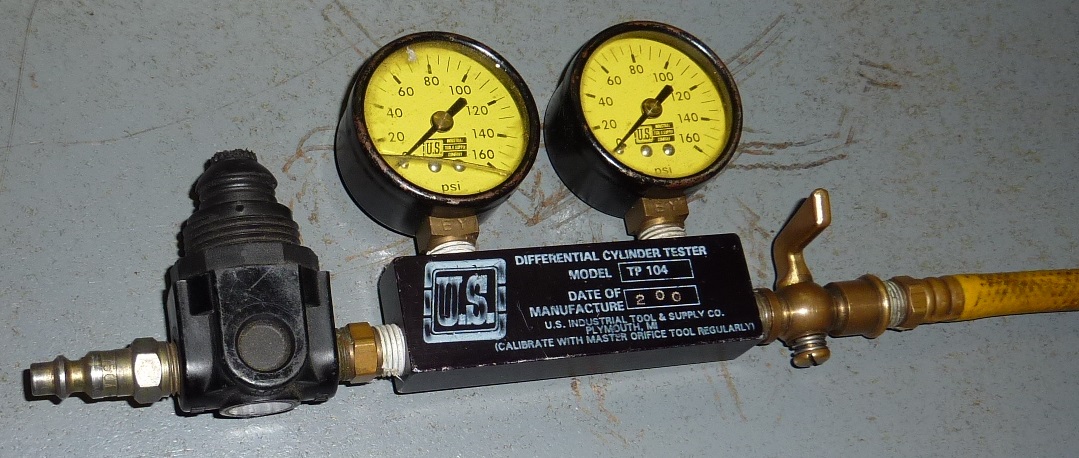
While at the Event William showed how to use a differential Cylinder Pressure tester and all the valuable diagnostic info you can get from it, here is a zoom into show the details of what it looks like, It’s made by US Industrial Tool & Supply Co. model # TP 104. after the event I put one on my next order from ACS.
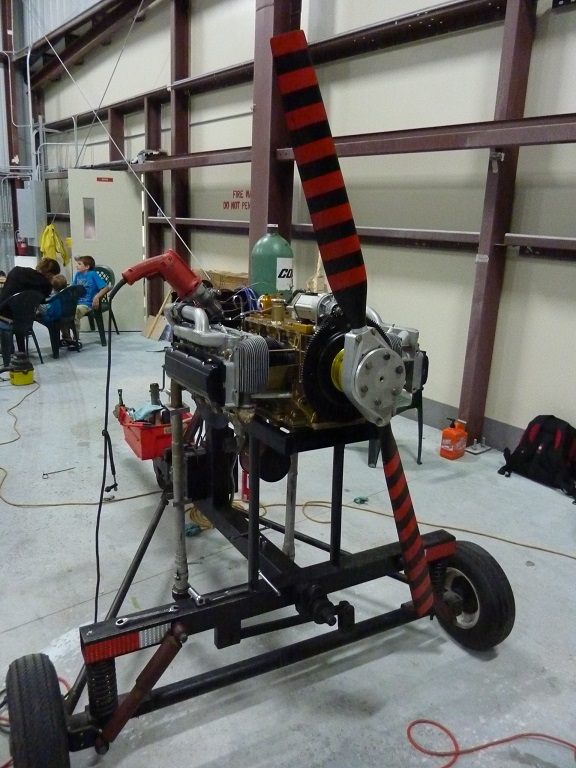
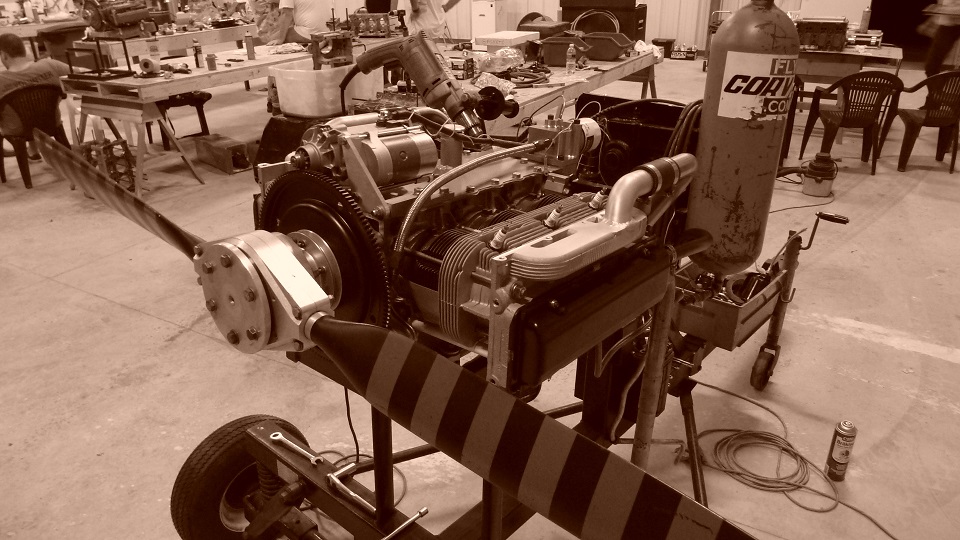
Ready to go again, it was another 1st in the morning run. its a good thing so you can take your time the night before to make sure everything is good to go, the tear down to get it off the stand and ready for the next engine was fairly quick.
Here is the engine running again, its hard to beat the sound & smoothness of a Corvair Auto to Aero conversion.
Having a new Fly Corvair motor all dialed in with a few hours of run time ready to bolt on is quite the motivator to get the air frame done.

